Podcast Recording Best Practices: Capturing Clear, Professional Audio
Your microphone is your podcast’s most important tool. Learn how to choose the right one and master mic technique to get clear, professional audio in every episode - no studio required. Perfect for beginners or anyone looking to level up their sound.

In Setting Up Your Home Recording Studio on a Budget, we discussed how you can turn your home into a podcast recording studio without spending much. With the right setup, you can reduce one of the elements that most affects audio quality: room noise. This comes from the reverberation of sounds that bounce off hard surfaces. If the room you record in has rugs or carpeting, and has curtains in front of windows, this helps reduce room noise and gives you better audio.
The most important way to get the best audio quality when recording your podcast is by mastering your microphone. Getting your voice to sound great is called microphone technique. It's easy to learn, and once you've gotten the hang of it, you can reproduce the same sound for each episode.
Choosing the right microphone
Start by choosing a microphone; see Microphones 101: Selecting the Right Mic for Your Podcast. Which type of microphone you choose has technical ramifications - such as whether it connects to your computer via USB, or has an XLR output, which requires an audio interface - but it also affects the way you speak.
You should use a directional microphone, such as one with a cardioid pickup pattern, so the mic picks up sound from your speech, and not reflected sounds from behind the microphone. There are top-address and side-address microphones; depending on the placement of the microphone capsule, you may need to speak to the top of the microphone or the side, and this changes the way you position your mic.
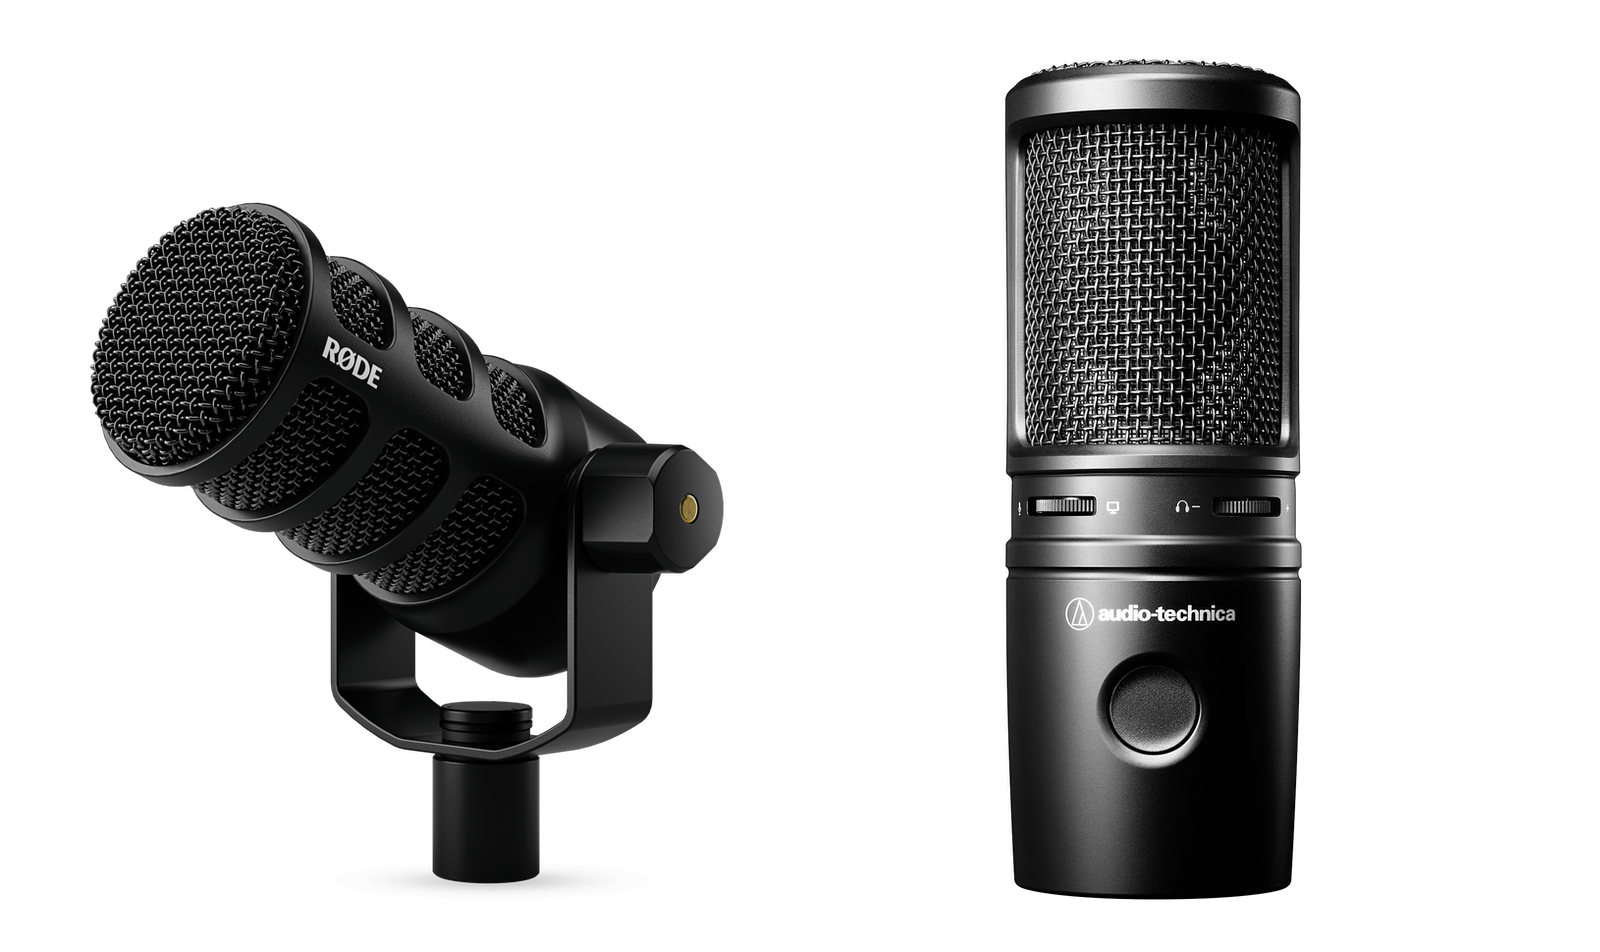
(Sources: Rode and AudioTechnica.)
Microphone technique
Microphone technique, or the way you speak into a mic, is important. You can see lots of people on YouTube with their microphones right in front of their mouths, and that results in a deep, rich vocal sound, but it's not for everyone. This proximity effect works with dynamic microphones to increase bass, giving a broadcast sound, but this close proximity also means that the mic picks up sounds that you don't want, such as plosives (p, b, and t sounds) and harsh sibilants (s, sh, and ch sounds). Condenser microphones are more sensitive to plosives than dynamic mics, and if your mic doesn't have a built-in pop filter, then you should use one to reduce these sounds.
The ideal mic position is from about four to six inches from your mouth for a dynamic mic, and four to eight inches for a condenser mic. The microphone should be at a 45º angle from your mouth; you should talk across your microphone, not into it. This reduces plosives and other harsh sounds. Your microphone position also needs to be comfortable; you can't be frozen in the same spot for a half hour or an hour when recording a podcast.
You'll use a stand or a boom with your mic, and it's useful to set it so you can position it in the same place each time you record. This ensures that your recording settings don't need to be changed each time you record an episode.
Try recording your voice with your mic in different positions and see how it sounds. If you use a boom, you have a lot of flexibility for positioning your mic to the side, above, or below your mouth. Try these and see what is comfortable. But remember that you may need to access your keyboard and mouse while recording, so make sure the mic isn't in the way.
You should use a shock mount to prevent the mic from picking up vibrations from your desk. Some microphones have internal shock mounts, but they may not filter out all sounds, especially if you have a microphone mounted on a stand resting on a desk. However, you can put the mic stand on a piece of dense foam, which will isolate it.
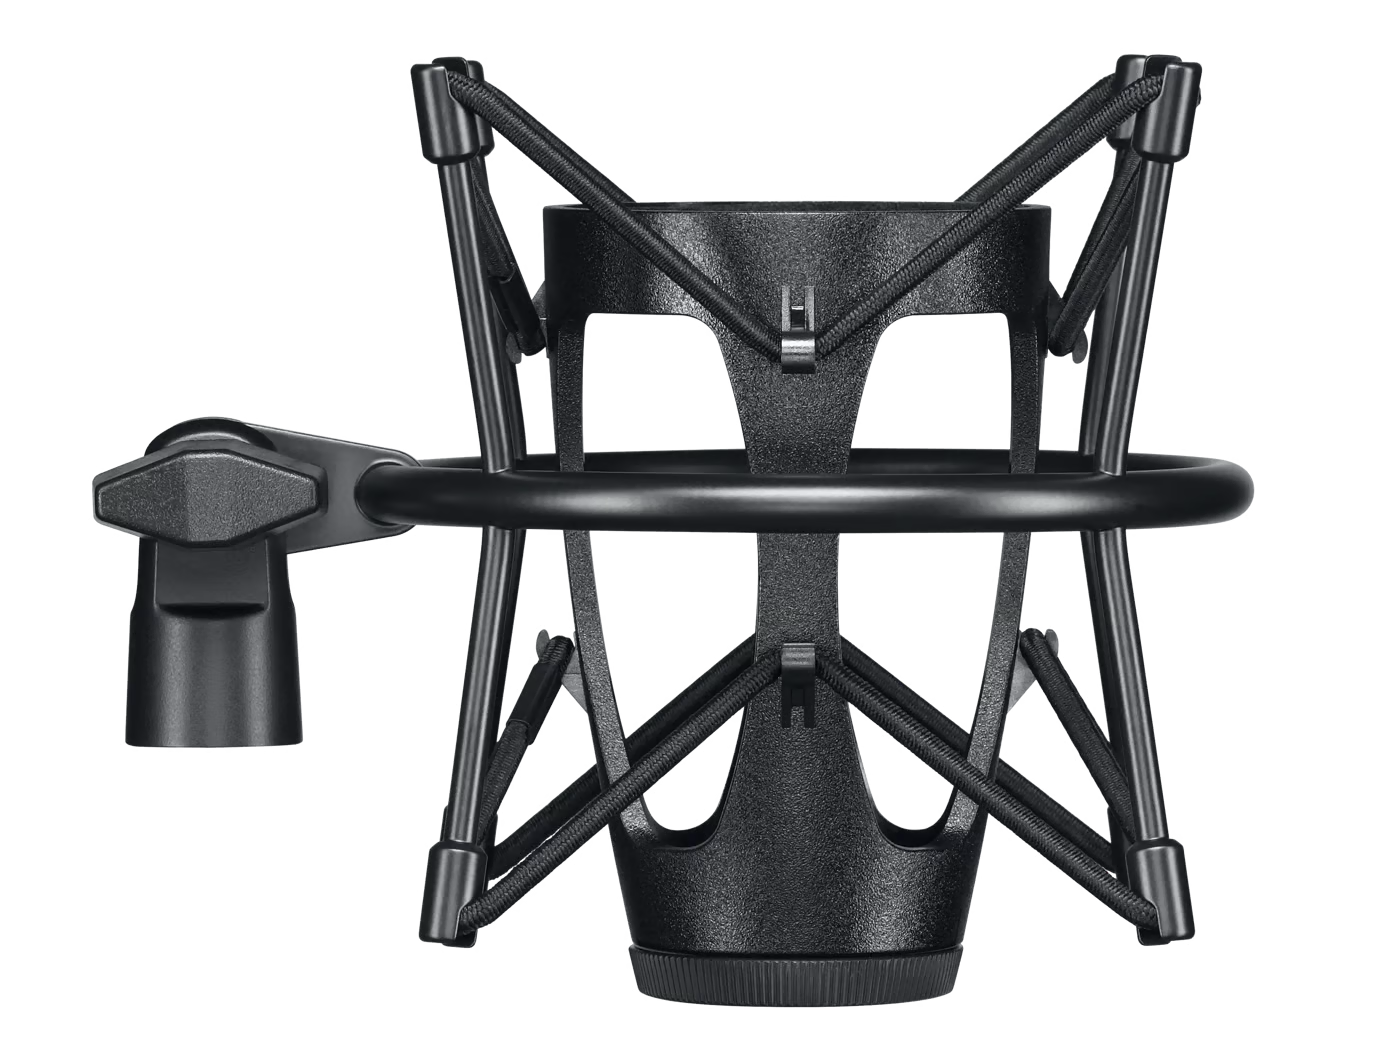
(Source: Shure.)
Turn off anything that makes noise in the room where you record. Depending on the temperature, you may need a fan; get one that has a low setting and is quiet. Close windows if there's traffic near you, set your phone and computer to do not disturb mode, and keep pets out of your recording space; unless they are a feature of your podcast.
Recording Tips
It's important that you record your voice at the right level; not too soft, not too loud. Set your gain to somewhere between around -18 to -12 dB in your recording software. Since the volume of your voice changes as you speak, you want to leave headroom to prevent audio from distorting. Audio recording software has peak RMS meters that generally show the volume in green, yellow, and red. You want it to be green when speaking normally, and no more than yellow when your voice gets louder, such as when you laugh. If your voice gets in the red zone, then it will sound distorted.
It's helpful to be able to quickly mute your microphone if you need to cough or sneeze. Many mics have a mute button that you can press, but this can cause noise. Look for software that can mute the microphone input on your computer. On Mac, MuteKey lets you set a keyboard shortcut to mute your microphone; on Windows, try MuteMyMic. Or, if you have a device like an Elgato Stream Deck, or a LoupeDeck Live, you can program a button to mute and unmute your microphone.
Finally, everyone recording your podcast should use headphones. These don't need to be fancy audiophile cans; they just need to prevent audio bleed from speakers onto recordings. Even earbuds are fine and may be more comfortable than on-ear or over-ear headphones.
When you first start podcasting, you need to consider a lot of variables to make sure your recordings sound professional. Once you've set everything up, it's easy to produce great-sounding podcasts for every episode. Get to know your microphone and learn how to use it; as a podcaster, it's your main tool.
Master Your Mic, Elevate Your Podcast—with Fireside.fm
Great podcast audio doesn’t require a professional studio - just the right mic, solid technique, and a few smart habits. Once you’ve dialed in your sound, Fireside.fm makes it easy to take your podcast to the world with fast, reliable hosting and built-in tools to grow your audience. Start your free trial today and turn your setup into a show worth sharing.